LinkedIn Sales Navigator is the best prospecting tool most B2B teams own — and the most under-used. It surfaces the right accounts and the right people, but the moment you try to act on that list, the cracks show: the profiles hide behind private linkedin.com/sales/lead/… links your CRM won't accept, nothing is scored for fit, and exporting clean data turns into an afternoon of copy-paste.
This guide lays out a repeatable lead-generation workflow that closes that gap — from your first saved search to a scored, CRM-ready list — without scraping and without anything being posted on your behalf.
Why Sales Navigator leaves a "last-mile" gap
Sales Navigator is built for discovery, not delivery. Three things consistently slow teams down once they have a list:
- Private lead links. The URLs Sales Navigator shows (
/sales/lead/…) are session-bound and meaningless to your CRM, your enrichment tools, or a teammate who opens the file tomorrow. - No fit signal. A saved search returns hundreds of names with no indication of which ones actually match your ideal customer — so reps work top-to-bottom instead of best-first.
- Manual export. Getting names, titles, and companies into a usable spreadsheet means clicking through profiles one by one.
Lead generation only compounds when you fix this last mile. Here's the workflow that does it.
Step 1 — Define your ICP before you search
Every good Sales Navigator session starts upstream of Sales Navigator. If you can't name the industries, company sizes, seniorities, and buying triggers that define a good-fit account, your filters will be guesses and your list will be noise. Write the criteria down once as an ICP brief so every search — and every rep — works from the same definition.
Step 2 — Build searches that mirror your ICP
Translate the brief directly into filters. The highest-signal ones for most B2B teams:
- Company: headcount, industry, and geography to match your account profile.
- Role: current title, seniority, and function to reach the right buyer, not just anyone at the company.
- Triggers: "changed jobs in the last 90 days," "recently posted," or growth signals that map to your buying triggers.
Save the search so new matches flow in over time, and keep each one tight — a focused list of 200 strong-fit leads beats 2,000 maybes.
Step 3 — Capture the leads
Once a search reflects your ICP, capture the results into a working list rather than scrolling them. If you're working a people or account search at volume, a tool that records the visible results and saves them for processing removes the manual export step entirely — and keeps the original Sales Navigator context attached to each lead.
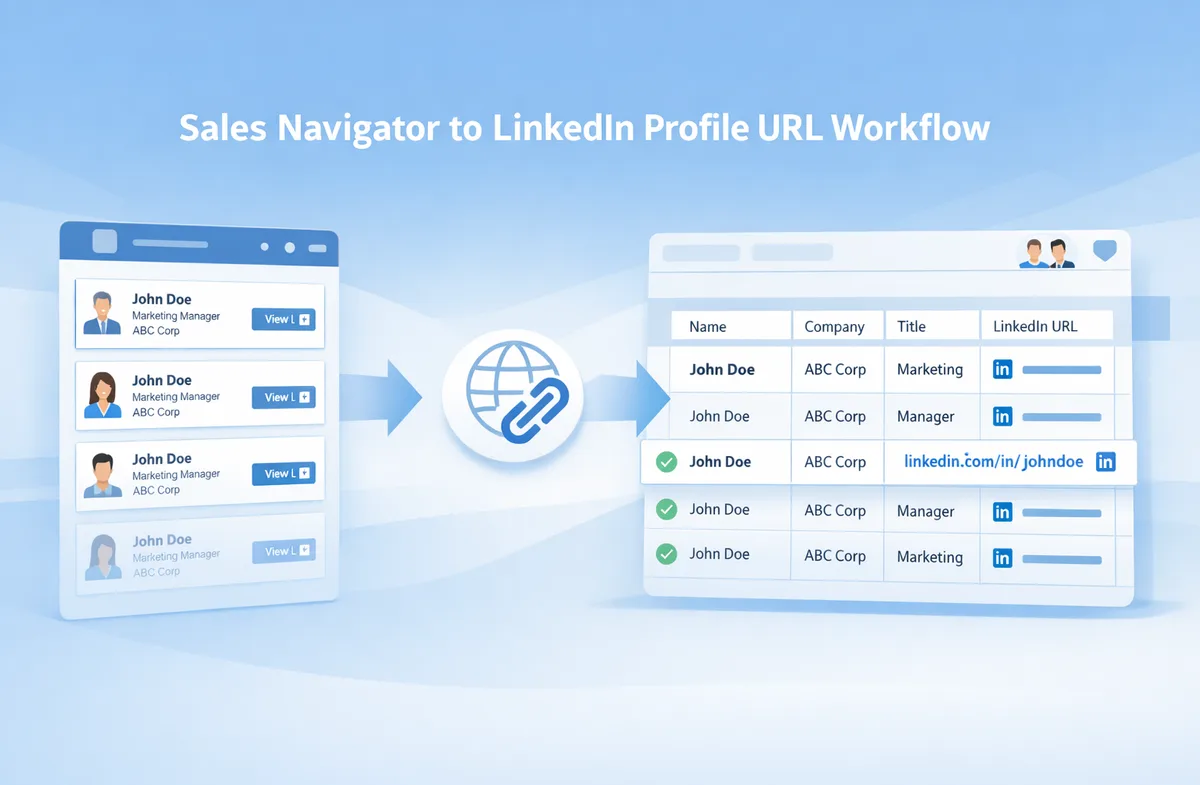
Step 4 — Resolve lead links to public profile URLs
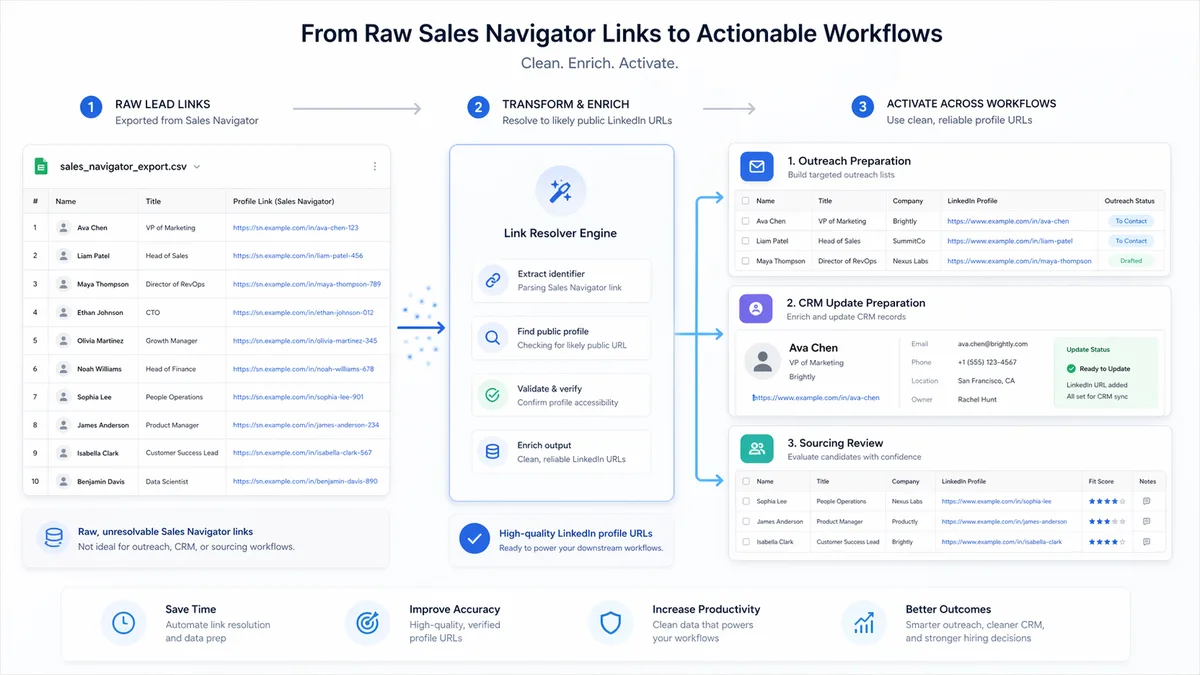
This is the step that unlocks everything downstream. Each private Sales Navigator lead link needs to become a public linkedin.com/in/… URL your CRM and tools can actually use. A resolver reconstructs the likely public URL from the lead and returns a confidence score (0.0–1.0) so you can trust the high-confidence matches and review the rest.
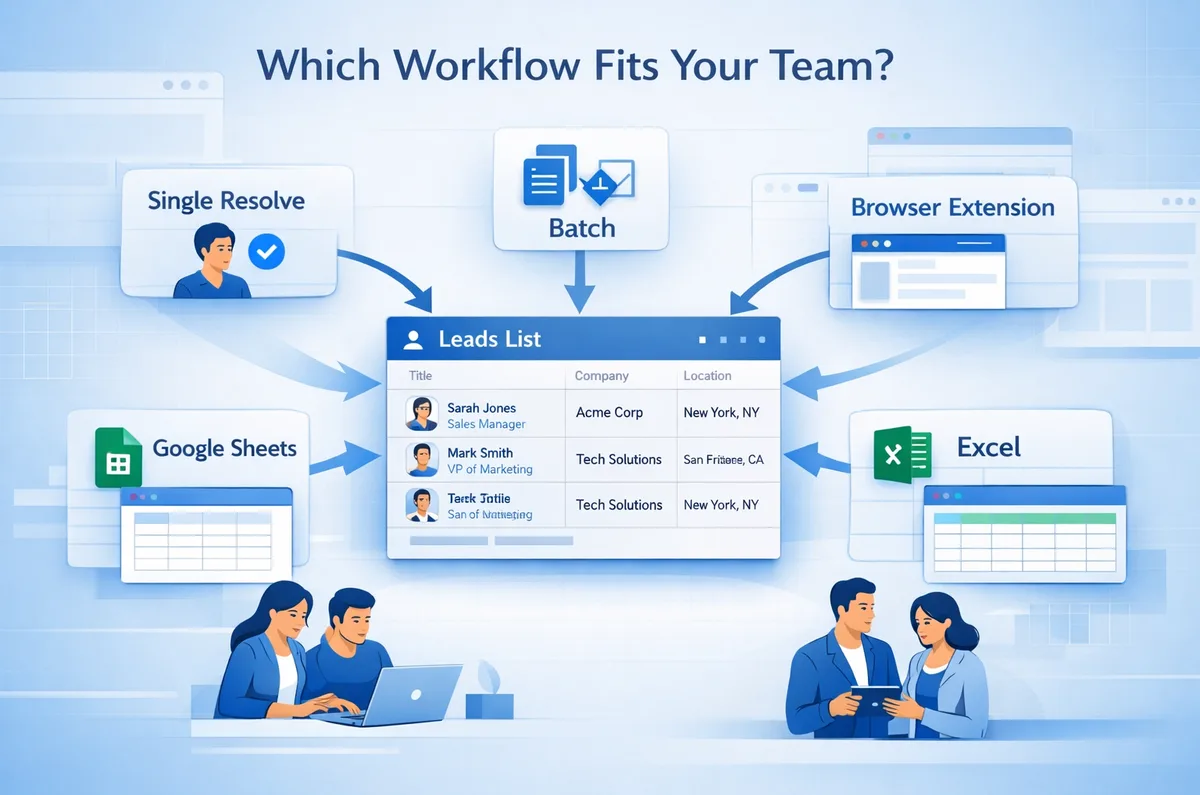
Pick the surface that fits how your team works — there's no single "right" one:
- Single resolve for one-off checks.
- Batch upload (CSV/Excel, up to 1,000 rows) when you've exported a list.
- Google Sheets add-on or Excel add-in to resolve in place, where your list already lives.
- Browser extension to resolve straight from Sales Navigator.
- API when resolving is part of an automated pipeline.
We compare these surfaces in detail in this workflow breakdown, and walk the conversion mechanics in the Sales Navigator to profile URL guide. The important part: it's read-only, you supply the URLs, and it costs 1 credit per resolved lead.
Step 5 — Score and triage against your ICP
A list of clean URLs is useful; a list of clean URLs ranked by fit is a pipeline. Score each lead against your ICP brief so reps work best-first:
- Fast scoring is deterministic and rules-based — 1 credit, instant — so you can triage a whole list in one pass and drop obvious mismatches and disqualifiers.
- Deep scoring adds an LLM second opinion with a rationale and recommended action for your shortlist, where the extra rigor pays off.
The output is a verdict and a score per lead, so a 500-name search collapses into a focused shortlist worth a rep's time.
Step 6 — Prepare outreach (don't automate it away)
With scored, verified leads, the last step is preparation, not blasting. Use the structured profile and company data plus the scoring rationale to write outreach that references something real about the account. Drafting tools can speed this up — scoring a prospect and drafting a message or comment in your voice — but everything stays text you review and send yourself. Nothing is auto-posted.
Common mistakes to avoid
- Searching before defining the ICP. Filters without a brief produce volume, not fit.
- Treating every lead as equal. Skipping the scoring step means reps spend their best hours on mediocre accounts.
- Hoarding huge lists. A tight, scored list outperforms a giant unqualified one every time.
- Confusing activity with progress. The goal is booked meetings, not resolved rows — keep the workflow pointed at outreach.
Putting it together
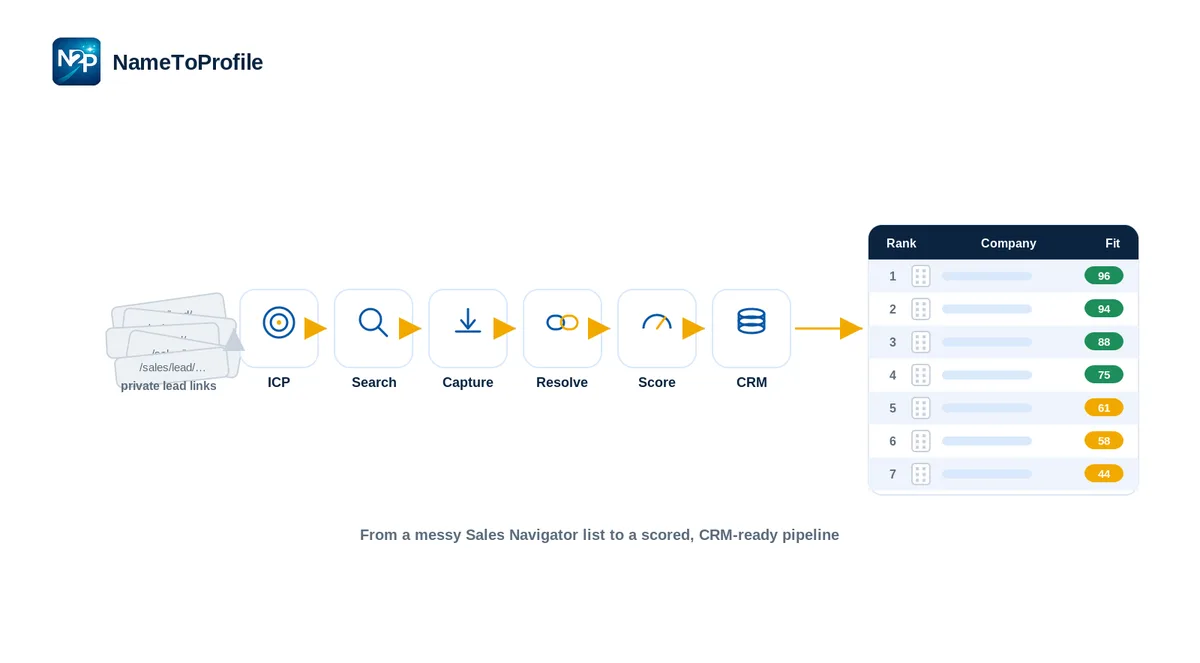
A working Sales Navigator lead-gen engine is just six repeatable steps: define the ICP, search to match it, capture the results, resolve to public URLs, score for fit, and prep outreach on the best. Sales Navigator handles discovery; a resolve-and-score layer handles the last mile that turns a search into revenue.
You can run the resolve and scoring steps free — start with 100 credits, no card and no subscription. Define one ICP brief and it powers every tool in the workflow.